If you’ve tried everything from deluxe car washes to toothpaste and baking soda to get the gunk and stains off your headlights, look no further! There is a straightforward and cheap solution that will leave them shining for a long time!
What solution is it? The unassuming magic eraser.
We’ll outline the steps for cleaning your headlights with a magic eraser and sealing the shine with a sealant so you’ll never have this problem again!
Contents
What Is a Magic Eraser?
A magic eraser is an effective cleaning tool used to rid most surfaces of dirt, stains, and other unwanted messes. There are many uses for magic erasers, but they are most commonly used to clean bathrooms, kitchens, and fingerprints off walls.
While they appear to be basic sponges, magic erasers are made from melamine foam, which has been chemically manipulated with formaldehyde to create this gritty, foam-like sponge.
Once the eraser is wet, there isn’t much that it can’t pick up, and the magic eraser’s cleaning power becomes life-changing! This formula allows the magic eraser to clean impossible stains, or in this case, your cloudy headlights!
Can You Clean Headlights With a Magic Eraser?
If you’re tired of having cloudy, yellow-stained headlights and you’ve tried every DIY project and store-bought cleaning product, then the magic eraser is the right product for you!
Using a magic eraser to clean your headlights is safe and simple. You must not rub the magic eraser on your car paint because it causes fading, discoloration, or damage. You can easily prevent this by outlining your headlight in masking tape. After a few minutes of buffing your headlights, you’ll notice before and after.
The best part is that you can find most of the equipment needed around your household or at a nearby store. This DIY project doesn’t require you to look for specific, overpriced products that may or may not work.
How To Clean Headlights With a Magic Eraser
So, what are the steps to cleaning your headlights with a magic eraser? Here are the step-by-step instructions.
Equipment Needed
From the very beginning, this project is simple and affordable. The only products you need to clean your headlights are a magic eraser, a drying cloth, masking tape, and water.
Step 1
Begin by outlining your headlight with masking tape to protect your car paint from being damaged by the magic eraser. It can be easy to rub off your car paint during the buffing step accidentally.
Step 2
Next, submerge your magic eraser in water and squeeze it, so it is damp but not soaking wet to activate the eraser and make it easy to use.
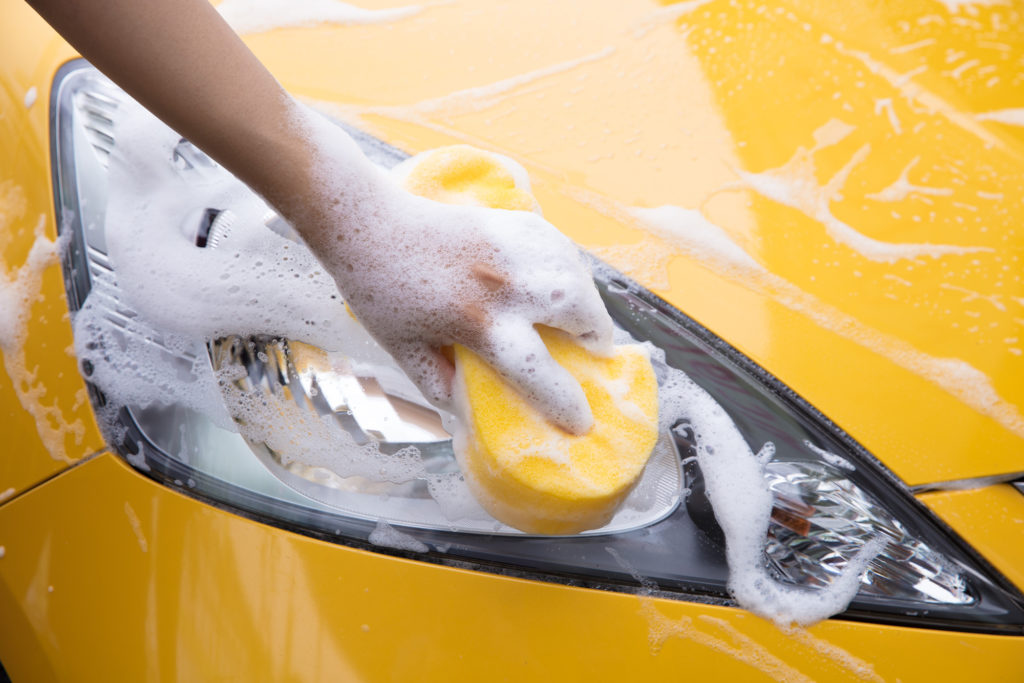
Step 3
Buff your headlights with the magic eraser in small, circular motions. Be sure not to rub the magic eraser on the car paint because it will damage or rub it off.
Step 4
Buff your headlight in small, circular motions for about 5-10 minutes. Rewet and squeeze your magic eraser as needed if it begins to dry up in the process.
Step 5
After 5-10 minutes, you will notice your headlight beginning to clear up. When this happens, gently pat it with your paper towel or cloth until it is dry.
How To Seal Headlights After Restoration
Once your headlights are clear again, it may seem like the job is finished. However, you can keep the headlights clean and clear for much longer if you use a restoration process. Luckily, this is an equally quick and easy process.
Equipment Needed
To seal your headlights after restoration and ensure that they stay clean for as long as possible, the only things you will need are a dry cloth and Headlight Sealant.
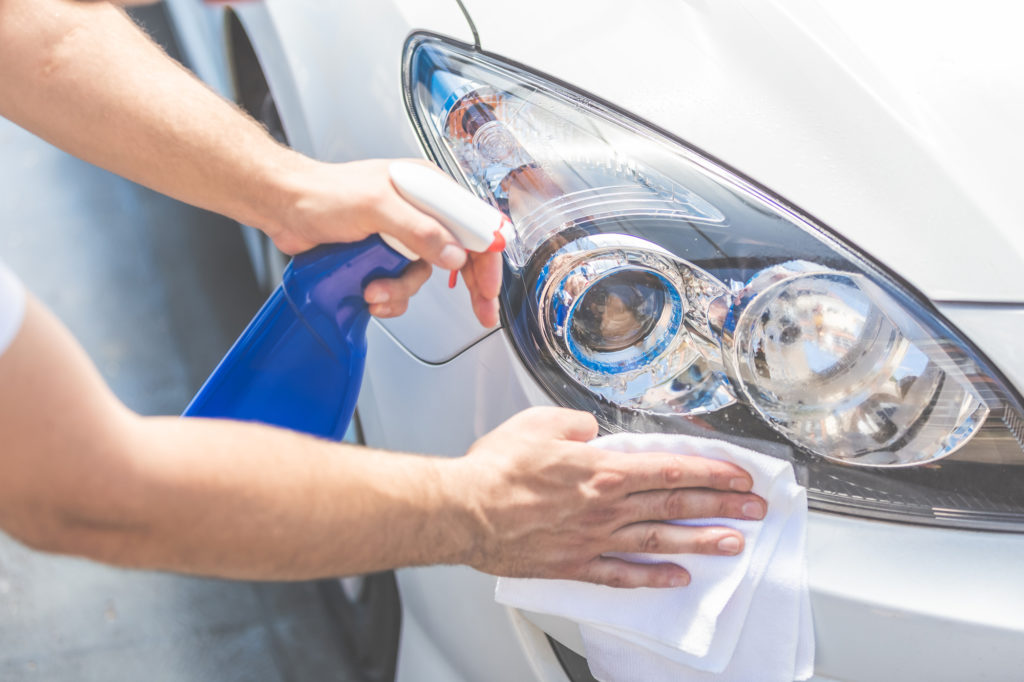
Step 1
First, you’ll want to apply a small to medium amount of headlight sealant on your dry cloth. You can apply more sealant later if necessary.
Step 2
Next, gently buff your clean headlight with the cloth. Similar to cleaning with the magic eraser, it’s best to go in small, circular motions. Unlike the cleaning process, the sealant will initially make your headlights cloudy. But don’t worry, this is temporary!
Step 3
After a few minutes you’ll notice the cloudiness of your headlight disappearing. The sealant causes your headlight to shine, and that’s when you’ll know the process is complete.
Step 4
Repeat this process on your other headlight.
Is DIY Headlight Restoration Hard?
Like most DIY projects, headlight restoration is something that can seem complicated, and can be if you allow it. However, it doesn’t have to be if you take the right approach!
Simple DIY hacks such as the magic eraser that have been proven to work really simplify the process so that anyone can successfully restore their headlights. You don’t have to be an expert or know much about cars to figure out how to successfully clean and seal your headlights.
All it takes is one good method (like the magic eraser), a little bit of time, the ability to follow simple instructions and some elbow grease to get the job done!
Not only will restoring your headlights improve the appearance of your vehicle, but it also improves driver safety because your lights will be more visible to other drivers and illuminate the road better than before.
Where To Buy Magic Erasers
Magic erasers are an effective DIY headlight restoration method, but they are not considered headlight cleaners. It’s not likely that magic erasers are available in auto part stores such as AutoZone and O’Reilly. Instead, consider the cleaning sections in stores such as:
- Target
- Walmart
- Home Depot
- Walgreens
- CVS Pharmacy
- Lowe’s
- Family Dollar
Because of their popularity, you can purchase magic erasers anywhere that sells cleaning products.
The most popular magic eraser brand is Mr. Clean, but any brand of magic eraser will clean your headlights. Other magic eraser brands include:
- Uline
- Scrubit
- Star Brite
- Quickie
- Foamworld
While some car repairs are time-consuming, restoring your headlights is not! Just use a magic eraser and sealant to keep your headlights shining clear and bright for a long time.