If you’re searching for an F150 radio wiring diagram, look no further. This blog post will provide a detailed overview of the F150 Radio Wiring Harness and its various components, including F150 radio wiring color codes and troubleshooting tips to help you resolve issues related to your Ford f150 radio system.
Contents
Overview
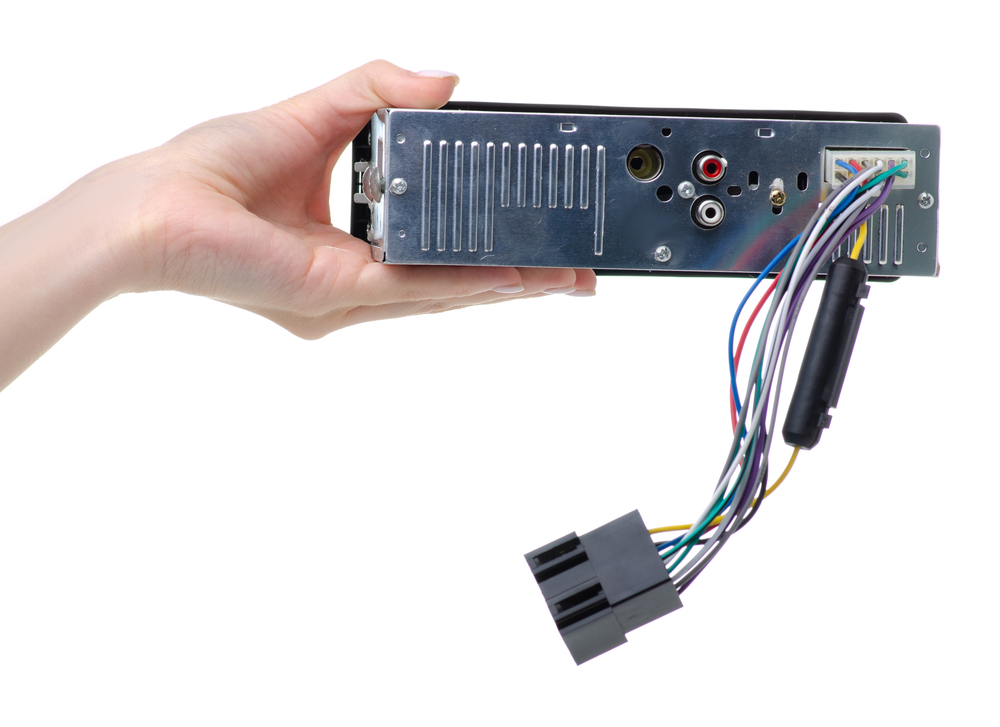
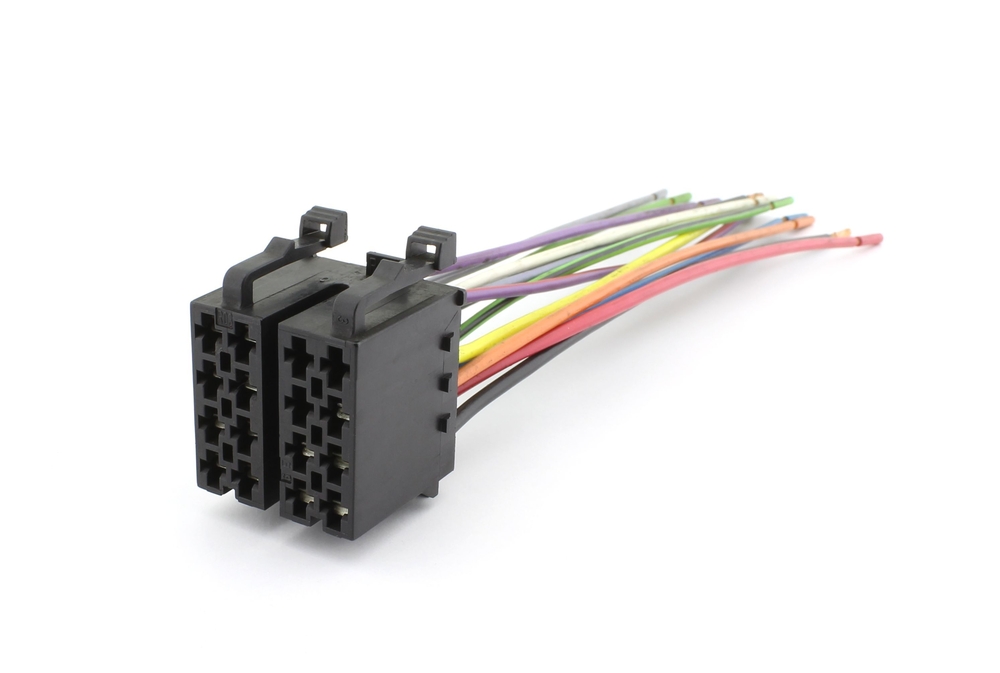
Understanding the wiring harness is essential when upgrading or replacing the radio in your Ford F150. The F150 radio wiring harness connects your vehicle’s electrical system and the aftermarket stereo unit, ensuring a seamless integration of audio components while maintaining factory features such as steering wheel controls and backup camera functionality.
A wiring harness is an organized set of wires, terminals, and connectors that transmit signals and power throughout your vehicle. In this case, it connects your Ford F150’s electrical system with a new or upgraded radio head unit.
F150 Radio Wiring Color Codes Explained
Understanding the color codes of your Ford F150 radio wiring harness is essential for proper installation and functioning.
Black
The black wire in your Ford F150 radio wiring harness serves as the ground connection for your audio system. It is crucial to have a solid ground connection to ensure optimal performance and prevent electrical interference or noise from affecting sound quality.
Green
The green wire in your Ford F150 radio wiring harness controls the illumination of your car stereo display when you turn on your headlights or parking lights. This feature lets you see important information such as volume levels, station presets, and track numbers.
Red
The red accessory power wire provides switched 12V power supply for turning on/off with an ignition key switch.
Yellow
The yellow constant power wire supplies a continuous 12V voltage source to the radio, ensuring it retains its memory settings, such as preset stations and audio preferences, even when the vehicle is turned off.
Blue/White
If you have an external amplifier in your Ford F150 audio system, you must connect the blue/white remote turn-on wire from your radio wiring harness. This wire sends a signal from your head unit to turn on/off any additional amplifiers whenever you switch on/off your car stereo.
Early Models Diagrams
The early models of the Ford F150 radio wire harness models had a slightly different configuration than the latest models. Typically, early-model Ford F150s refer to those manufactured between 1980 and 1996.
In these older models, two connectors typically make up the radio wire harness: one for power supply and speakers and another for additional features like a CD changer or amplifier (16-pin).
Latest Models Diagrams
Recent F150s have experienced a range of improvements in their radio and infotainment systems, leading to modifications in the wiring harnesses that link audio components.
The speaker wires on a modern Ford F150 typically follow these color patterns:
- Front Left: White (+), White/Brown (-)
- Rear Left: Green/Yellow (+), Grey/Green (-)
What Color Is the Remote Wire on an F150 Radio?
The remote wire serves as a communication link between your car’s ignition and its audio components. When the engine is powered on or off, signals control the activation and deactivation of audio system elements such as amplifiers and subwoofers.
In most Ford F150 models, the remote wire for the radio is blue with a white stripe.
Ford F150 Radio Troubleshooting
If you’re having trouble with your Ford F150 radio, we’ve got the answers to help get it back up and running.
Check the Basics
Before diving into more advanced troubleshooting techniques, make sure to cover the basics first:
- Ensure the radio is turned on and functioning properly.
- Check if all cables are securely connected.
- Verify that the antenna is in good condition and properly attached.
- Inspect fuses related to the audio system for any signs of damage or blown fuses.
Poor Reception Issues
If you’re experiencing poor radio reception, consider cleaning the antenna. Dirt and debris can accumulate over time and affect signal quality. Give your antenna a thorough cleaning using mild soap and water before wiping it dry with a clean cloth.
No Sound or Distorted Audio Issues
If you’re experiencing no sound or distorted audio from your F150’s radio, ensure all speaker wires are securely connected to the head unit and speakers.
Test each speaker individually by adjusting your head unit’s balance and fade settings. This will help determine if one or more speakers are faulty.
Conclusion
The F150 radio wiring harness connects your vehicle’s electrical system and the stereo unit. If you’re experiencing issues with your F150 radio, use this guide’s information and troubleshooting tips to help you diagnose any problems. Remember that proper wiring is essential to ensure your radio functions correctly and you can always check your vehicle’s user manual for more information.