Window tints are helpful additions that can protect you and your car in many ways. However, as they get older, they can start to look unsightly. Some tints can fade, create air bubbles or begin to peel.
Here’s everything you need to know about DIY methods for removing window tint glue.
Contents
Why Do You Have the Stubborn Adhesive on Your Windows?
Window tint glue is the culprit for residues of adhesive on your windows. The longevity of window tint varies greatly from one year to up to ten years. This wide range is due to several factors, including the quality of the window tint, how well it got applied, and how well you maintain it.
Eventually, the adhesive on the window tint wears down, and you can start to see signs of deterioration, such as peeling and pockets of bubbles.
Why Remove the Tint Glue?
There are several reasons why you should consider removing window tint glue. Most of these reasons are due to safety concerns.
1) Window Tints Obstruct the Driver’s View
If you have worn window tints, they can become a distraction while you’re driving. A window with old tints can have bubbles, peels, and scratches that can make your eyes focus on them instead of on the road.
Some old window tints can also cause a blurring effect on your windows, making driving riskier, especially on rainy days.
2) Window Tints no Longer Serve Their Intended Purpose
People install tints for various reasons. Tints can prevent the interior of a car from fading by protecting it from ultraviolet rays. They also keep the inside of the car cool and reduce glare from sunlight and headlights.
When window tints stay on past their shelf life, they can no longer protect your car as effectively as they once did. They eventually become obstructions and stop benefiting the driver.
3) State Laws on Tinted Windows
Although there are many benefits to window tints, they can also be dangerous safety hazards.
For example, if you’re planning on making a left turn at a stop sign and a car with tinted windows stops in the opposite lane, you wouldn’t be able to tell if the driver acknowledged your next move.
Because of the risks that come with window tints, different states have their own laws to regulate them. If you’re driving through different states, you can end up violating a state’s laws if your window tints are darker than what they allow.
How to Remove Window Tint Glue Easy
Going to a body shop to remove window tints can be costly. Fortunately, there are a few things you can try on your own before getting your window tints removed by a technician. Here are three easy methods that you can try to get rid of the adhesive.
Method 1: Using a Heat Gun
One of the most common ways to remove old window tint is using a heat gun. If you don’t have a heat gun, you can try using a strong hairdryer.
Tools and equipment needed
Other than a heat gun, you’ll need a razor blade scraper. Here are some of the best heat guns that you can use:
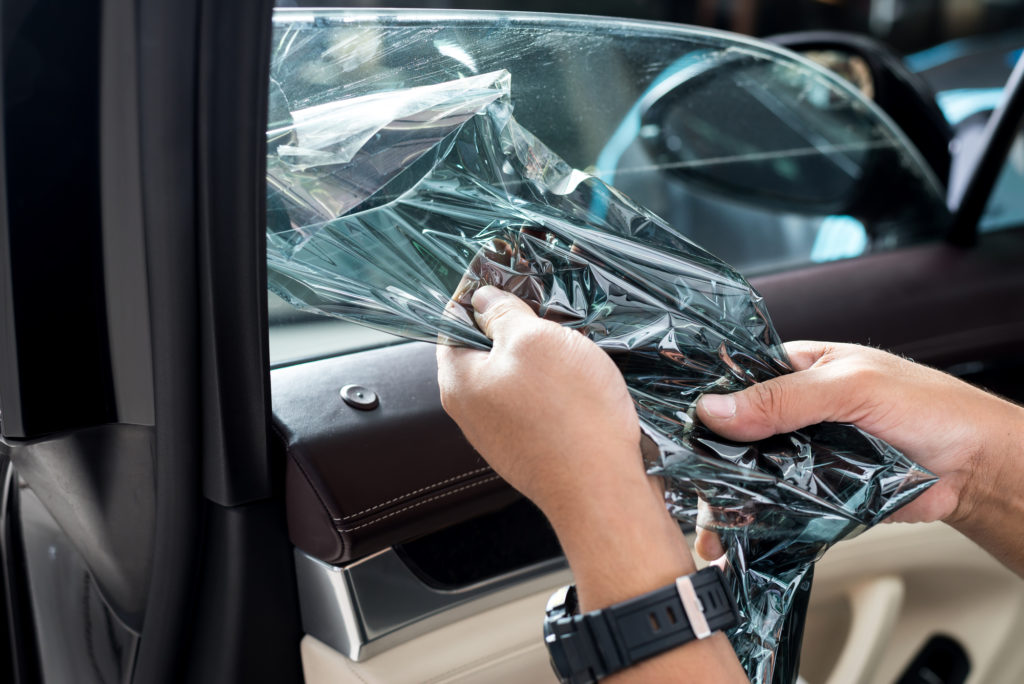
Locate and Peel a Slight Edge of the Window Tint
Look for a corner of the window tint. Once you locate it, take the razor blade scraper and carefully pick underneath the corner to loosen the tint. Keep scraping until your fingers can grab a piece of it.
Use the Heat Gun on the Window Tint
Turn on your heat gun and apply heat to the area just beneath the edge you just scraped off. Use circular motions and avoid holding the heat gun over a single spot.
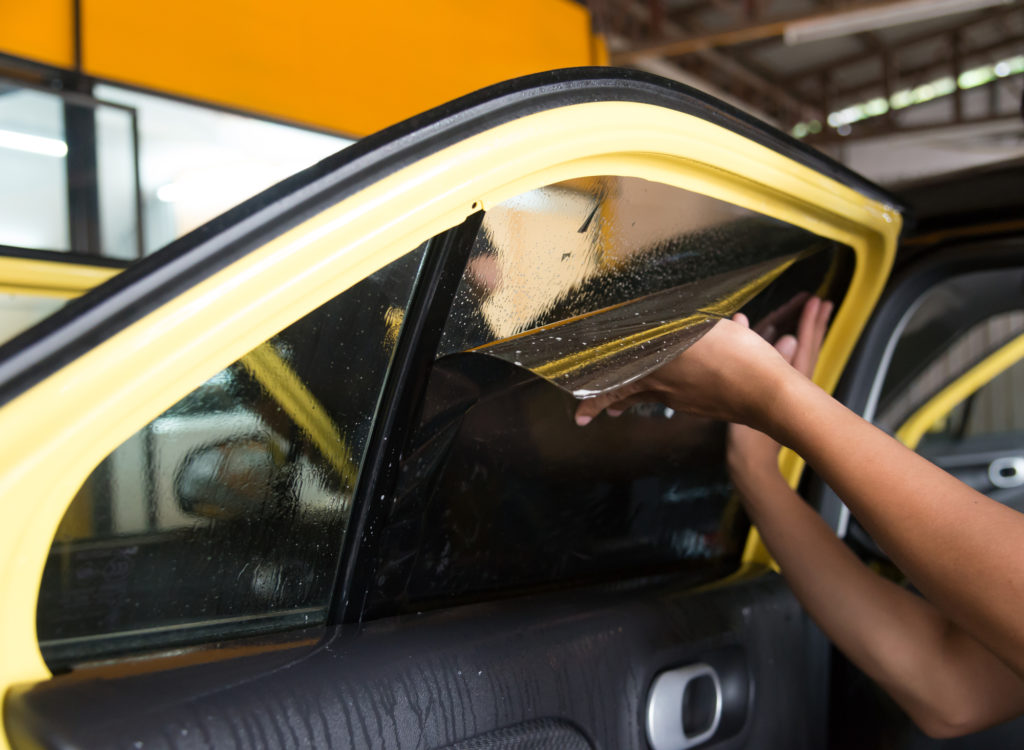
Slowly Pull Back the Window Tint
While the window tint is still warm, carefully peel it back and stop just before you reach a cold spot on the window tint. If you try to remove the window tint when it’s cold, it’ll leave glue on your window.
Repeat until the window tint is completely gone.
Depending on the size of your window, you’ll have to alternate between using the heat gun and peeling several times. Just remember not to rush the process because you can end up with a lot of residues and create more work for yourself.
Method 2: Using Common Household Products
Another effective method is using a steamer. A steam cleaner will work best, but you can try using a strong clothes steamer if you don’t have one. You’ll also need a razor blade scraper for this method.
Tools and Equipment Needed
If you’re looking for a steamer, consider the following options:
- Bissell SteamShot 39N7V
- Dupray Home Steam Cleaner
- Wagner 915e Power Steamer
- Bissell Power Steamer 2685A
Roll Down Your Window to Expose the Edge
With the steamer method, you’ll want to start from the top of the window and work your way to the bottom. Roll down your car window about an inch or so to expose the edge.
Steam the Top Edge of the Window Tint
Turn on your steamer and steam the top of the window. Keep the steamer a couple of inches away from the window and steam for a couple of minutes. Steam on both sides to help loosen the adhesive.
Use the Razor Blade Scraper to Peel the Window Tint
After you’ve steamed the window for a few minutes, use the razor blade scraper to lift the edge of the window tint gently. You might have an easier time starting from the corner.
Repeat Steaming and Peeling Until You Completely Remove the Window Tint
Similar to using a heat gun, only peel the area warmed up by the steamer. If you’re not careful, you can end up with adhesive stuck to your windows. Therefore, steam the window after every time it cools down.
Method 3: Using Industrial Chemical Solvents
If you don’t have a heat gun or steamer, you can use common household chemical solvents to remove the window tint glue.
Tools and Equipment Needed
You’ll need several items for this method:
- Ammonia
- Protective gloves
- Liquid soap
- Water
- Garbage bags
- Tape
- Razor blade scraper
Here are some good examples of ammonia that you can use:
- Austin’s Clear Ammonia
- Armaly Brands Brillow Lemon Parson Ammonia
- Awesome Products La’s Totally Pure Ammonia
When working with ammonia, make sure to follow safety guidelines to prevent any injuries.
Cover the Car With a Protective Layer of Garbage Bags
Use garbage bags to cover the interior of the car so that it doesn’t get exposed to ammonia. You can use tape to keep them in place. Just make sure to use painter’s tape or another tape with an adhesive that won’t damage the interior.
Use Soap and Water to Stick Garbage Bags on the Window
Mix the liquid soap and water and put the mixture in a spray bottle. Spray the interior and exterior of the window with the soap water mix. Cover the entire exterior surface of the window with garbage bags. If the bags aren’t staying up, you can use tape to help them hold their place.
Spray Ammonia on the Window Interior
Make sure to cover every inch of the window with a layer of ammonia. Then, cover the window with garbage bags, just like the exterior.
Wait for the Ammonia to Soak Into the Window Tint
Over time, the ammonia will start to break down the window tint. This process usually takes between one to two hours.
Peel off the Window Tint
Once an hour or two passes, remove the garbage bags from both sides of the window. Then, use the razor blade scraper to lift a corner of the window tint. You should be able to peel it off fairly easily.
If there are some stubborn spots, use the razor blade scraper to help lift off the window tint.
Pro Tips for DIY Window Tint Glue Removing
It’s very possible for you to remove window tint glue on your own successfully. Here are some additional things to keep in mind when using DIY methods to scrape off window tints.
Patience Is Key
You’ll most likely have to repeat the same steps several times to remove the window tint completely. For example, you’ll have to keep reheating the window because the tint will cool down as you’re working on removing the adhesive.
If you rush the process, you’ll end up with sticky residue on your windows. So, make sure to take your time with removing the tint.
Clean Your Windows Beforehand
If you use any chemical solvents, make sure to thoroughly clean your windows and wipe them down before applying the chemicals. Cleaning the windows will help the tints to absorb more of the chemical solvent.
Use a steel brush
You can use a steel brush to scrub off the adhesive of extra stubborn window tint glue. Just make sure that you’re not scrubbing on tempered glass.
Make sure to test the steel brush on a small corner to ensure that it won’t scratch the rest of the window.