If you have a radiator and are unsure if it is clogged up or not, then you’ve come to the right place! Read on to learn what causes radiators to become clogged in the first place and seven different symptoms you should keep an eye out for to avoid this problem.
Contents
What Causes Radiators to Clog?
To start, here are a couple different causes of radiators getting clogged.
Reason 1: Poor Maintenance
As with many parts of a car, a lack of proper maintenance can lead to numerous things going wrong, clogged radiators included. Lack of adequate maintenance includes not carrying out any maintenance at all and carrying out maintenance that either does nothing to help a radiator or accidentally causes damage to a radiator.
Because of this, if you ever plan on doing some form of maintenance on your radiator, it’s essential to first know what’s what and how to safely interact with your radiator to avoid damaging it.
Reason 2: Old Coolant
Old coolant is a common cause of radiators getting clogged. Because your radiator needs coolant at all times to keep functioning correctly, there is always the potential for coolant to block the radiator. However, the clogging will only occur if the coolant in the radiator sits for too long and degrades.
To avoid having your radiator clogged because of aged coolant, be sure to regularly change your coolant out. That way, it never sits for too long and becomes hazardous to the point where it has the opposite effect on the radiator.
Reason 3: Debris Buildup
Going in the same vein as poor maintenance, not keeping your radiator free of outside debris will cause it to inevitably become clogged.
You might especially find this to be the case if you live in an area where various kinds of debris are constantly floating around. Consider stones, leaves, broken branches, and other miniature forms of debris that can potentially find their way into your radiator.
Similar to coolant clogging your radiator, keeping your debris out of your radiator is not a difficult task. Be sure to do regular checks to make sure there is no buildup of waste, and remove any twigs, leaves, or other stuff that should not be present.
Reason 4: Rust
With lots of usage and age, a radiator can develop rust which will build up and clog the radiator over time. Rust often builds up more quickly if coolant of poor quality is put into a radiator regularly. So, make sure that you use a coolant of high quality to better avoid rust buildup.
Additionally, give your radiator frequent light cleanings to help keep it clean, especially if it gets a lot of use.
Symptoms of a Clogged Radiator
Now let’s cover some symptoms of clogged radiators.
Symptom 1: Faulty Passenger Area Heater
Suppose the passenger area always seems cold even when the heat is turned on in a vehicle. In that case, that is a potential sign that the radiator is indeed clogged. The hot coolant that creates heat will fail to reach the radiator, and when the fans go to blow air into the vehicle, it will not be as hot as it should be.
However, the passenger area heater failing to work might not come from the clogged radiator, so check your radiator to ensure that it is the actual cause of the issue.
Symptom 2: Bad Coolant
Because coolant is the primary ingredient to a radiator working correctly, it needs to be of a certain quality. Otherwise, you can expect to have poor results.
Think of it the same way you think of gas for a vehicle. If a car gets gas of poor quality, the performance will not be as good.
To ensure you get the right and best quality coolant for a vehicle, consult its manufacturer. More often than not, they will have the exact coolant for the vehicle on hand for you to buy, though note that this does not apply to every manufacturing company.
Symptom 3: Discolored Coolant
Another factor to consider when it comes to how coolant affects radiators is the color of coolant.
Typically, coolant comes in numerous different colors, but most regular coolant is bright green or yellow. The colors you want to watch for and actively avoid are the darker colors of rust and oil. If you find a coolant that has these colors, that generally means the coolant is contaminated and not suitable for use in your radiator for any reason.
Never use contaminated coolant even if it is the only coolant you have on hand. Instead, always get rid of discolored coolant and get some good quality coolant.
Symptom 4: Leaking Coolant
Coolant will fail to pass through if a radiator’s fins are clogged with debris and instead leak out of a vehicle over time.
To detect if this is happening, you can check to see if there is liquid beneath a vehicle when parked. If you see a pool or steady stream of liquid, that means that the vehicle is leaking coolant and that the radiator is more than likely clogged to at least some degree.
Luckily, leaking coolant is not a severe issue so long as it is treated as soon as it’s discovered. If it is left to continue leaking, then you can expect the radiator to suffer some form of permanent damage.
Symptom 5: Constant Engine Overheating and Temperature Warnings
Because radiators play such a prominent role in controlling temperature, if an engine is constantly overheating or a vehicle is giving constant temperature warnings, a clogged radiator is almost definitely the issue.
Of course, excessively high temperatures are even more concerning if they are happening when the temperature outside is on the colder side of things. In the winter months, a constantly overheating engine is easy to detect. So, if it is happening to your vehicle, keep an eye out for warnings on the temperature gauge while you are driving.
If you see the warnings frequently, check your radiator as soon as possible.
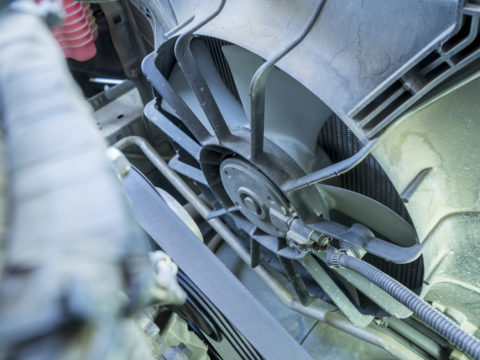
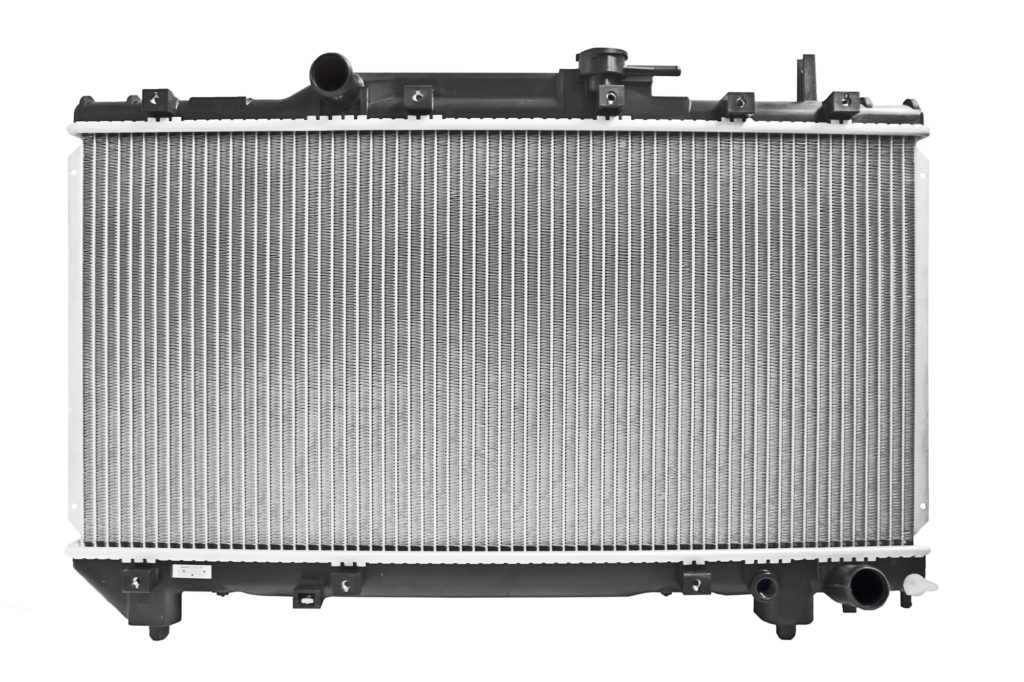
Symptom 6: Blocked Radiator Fins
The fin tubes on the front of a radiator play a critical role in helping the radiator achieve maximum cooling. However, they cannot do this effectively if they get blocked by debris. This is another area where those sticks, stones, and leaves that we mentioned earlier can directly impact the performance of a radiator.
To deal with any debris blockages, you can either pick out as much as you can with your fingers or rinse the front of the radiator with a garden hose.
Symptom 7: Damaged Radiator Fins
Damaged radiator fins are obviously a bad sign, as they will cause clogging in a radiator due to not being able to function correctly. Fins that are bent or damaged will block airflow for the radiator, so this is just as bad as having them stopped by debris, if not worse.
Sometimes fins can get damaged when the debris is being cleaned off them. Because of this, you need to be extra careful when you clean the fins, regardless of what method you use.
How Do You Fix a Clogged Radiator?
Now that you know some of the causes and symptoms of a clogged radiator, let’s go over how to fix a clogged radiator.
How to Flush a Clogged Radiator in 5 Simple Steps.
To successfully flush a clogged radiator and get it back into working condition, you will first need the proper tools on hand.
Tools and Equipment Needed
- Wrench
- Funnel
- Screwdriver
- Drain Pan
- Distilled Water
- Concentrated Antifreeze
- Ready-to-use Antifreeze
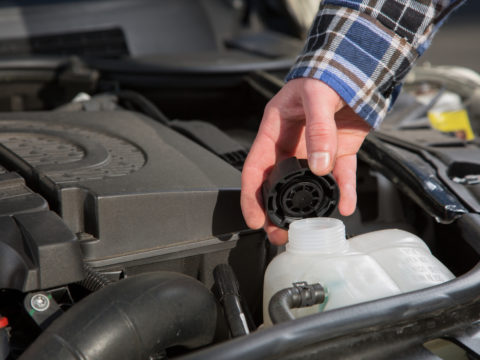
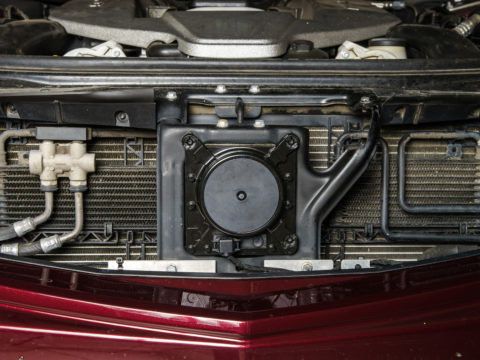
Step 1: Access the Radiator
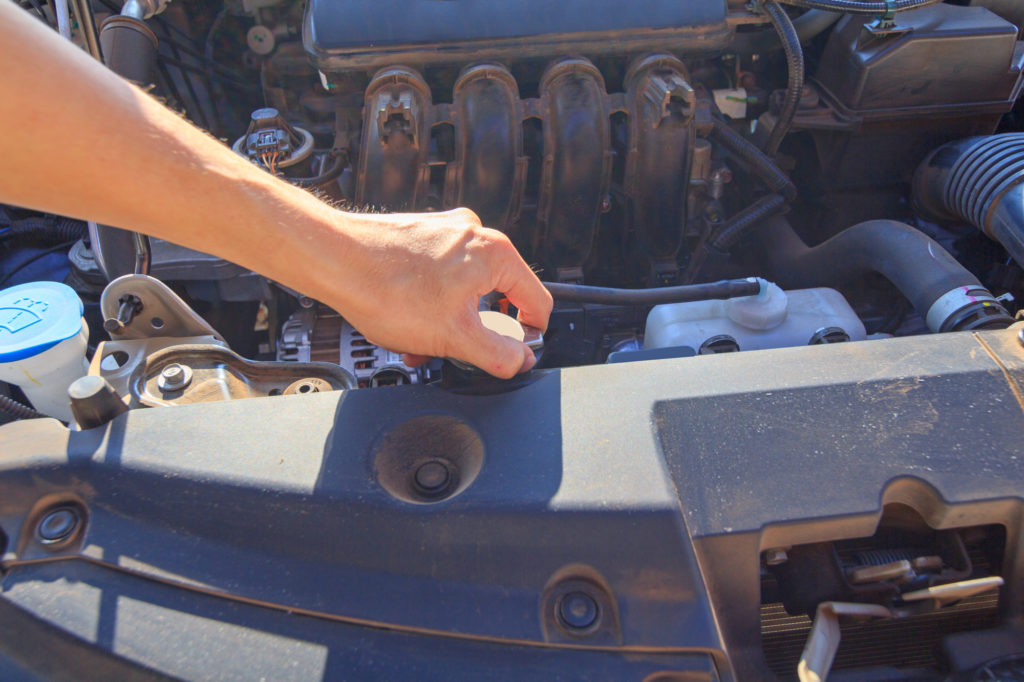
Before you can flush a radiator, you have to find and access it first.
Look under your vehicle’s hood and check near the front for a round cap on top of a flat metal surface. Here is where you will do most of your work, so make sure to keep its location in mind.
Step 2: Start Draining the Radiator
On the underside of the vehicle is where you will find a hose that you have to remove to drain the radiator of its fluid. At this point, take your drain pan and place it in a spot where it will catch the liquid that falls out of the radiator. Then remove the hose from where it is connected to the radiator and let gravity do the rest.
Let this process carry on until there is either a small amount or no antifreeze dripping from the radiator.
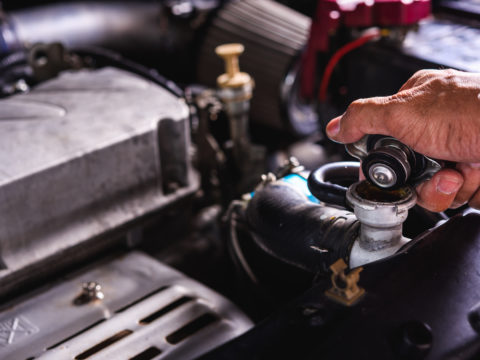
Step: 3 Flush the Radiator Out
Once all the antifreeze is done dripping out, reattach the hose, go back up to the vehicle’s top, and undo the radiator cap.
Pour your distilled water down the radiator, and be sure to fill it up all the way for the best results. After that, put the cap back in its place, turn the vehicle on, and let it run for a couple minutes so that the distilled water gets a chance to move through the vehicle’s engine.
After that, repeat the same process from the previous step and remove the hose beneath the vehicle to drain the water.
Step 4: Add Your New Coolant
Next, reattach the hose and add some fresh coolant to the vehicle.
To add the coolant:
- Open the radiator cap once again and put your funnel inside to control the flow of coolant.
- Use half concentrated antifreeze and half distilled water.
- Consult the owner’s manual of your vehicle to find out how much coolant is needed for your vehicle’s radiator.
When you’re finished adding the coolant, put the radiator cap back on before turning the vehicle on and ensuring it runs properly.
Step 5: Finishing Up
Finally, turn off the vehicle and add more antifreeze and distilled water so that there is enough for it to be clearly visible at the bottom of the vehicle’s overflow tank. This is important, as you will then add a tiny bit more antifreeze and distilled water to the overflow tank. Not too much though! Only fill it with liquid to the service line.
With that all done, your vehicle’s radiator is now officially flushed! If all goes well, you should not need to do another radiator flush for another year at least.