You should check the engine oil when it is cold or has had some time to cool down after running the vehicle.
Contents
Ideal Scenarios
The Ideal Temperature for Checking Engine Oil
When checking engine oil, you want to ensure an accurate reading to know the current level and the condition of the oil. The ideal temperature for checking engine oil should be cold for optimal results.
If you have to check the engine oil, but the car is running, turn it off, and wait 10 to 15 minutes for the oil to cool and settle back into the oil pan.
The Ideal Time for Checking Engine Oil
The best time to check the oil would be before starting the vehicle. This way, the oil is still cold, and it is in the reservoir rather than the engine components, which will give an accurate reading.
Sometimes you can forget to check the engine oil and remember after going to the gas station. If you want to check it after driving, be sure to wait 10 to 15 minutes so the vehicle has time to cool down and the oil will not be as hot.

Why Is It Important to Check Engine Oil?
Several important reasons make regularly checking engine oil necessary in a vehicle. These elements include:
- Avoiding Engine Failure
- Proper Lubrication
- Minimizing Premature Wear
- Removing Dirt and Debris
Without Oil, the Engine Will Fail
The engine and its components require oil to operate at an optimal level. The oil helps keep the engine from overheating and allows it to run correctly.
If there is no oil in the engine, the interior components will grind against each other, breaking down, and will eventually seize the motor so it will not run.
Keeps the Engine Parts Properly Lubricated
Lubrication is critical for engine operation. Checking the engine oil will help you determine if the levels are adequate to keep all the engine parts properly lubricated.
Without enough engine oil, not all components will move effectively. This situation may hinder your vehicle’s performance if it is left too long.
Premature Wear on Engine Components
Without enough clean engine oil, the vehicle’s internal components can suffer premature wear and tear. In addition, when parts grind against one another rather than having enough lubrication, engine components can suffer corrosion or heat damage.
To Remove Dirt and Debris
You can determine if the oil is dirty and needs changing by checking the engine oil regularly. After a while, the oil will collect dirt and debris, building up in the engine. When the oil becomes too dirty, it thickens and does not correctly lubricate engine parts.
How Often Should the Oil Be Checked?
Depending on how many miles you put on your vehicle, you should check your engine oil at least once per month or more.
If you have a short commute to work, once a month should be adequate to check the engine oil. Consequently, if you drive many miles for your job, you will have to monitor your oil more often.
How to Check Engine Oil Step-by-Step
Checking your engine oil is a simple task and should not take more than a couple of minutes. Follow these six easy steps to check your engine oil.
Step 1: Ensure the Vehicle is Parked on Level Ground
If your vehicle is parked on a slope, you will not get an accurate reading on the oil level. If you need to move it to a level spot, ensure that once it is sitting in a better position, wait for 10 to 15 minutes before proceeding to the next step.
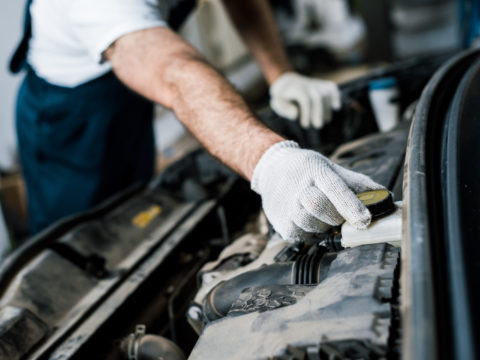
Step 2: Open the Hood and Locate the Dipstick
Pop open the vehicle’s hood and ensure it is secure with the hood prop rod to lock it in place. Next, locate the oil dipstick. It may have a bright red, orange, or yellow plastic pull tab on it. It should be near the oil filler cap on the engine.
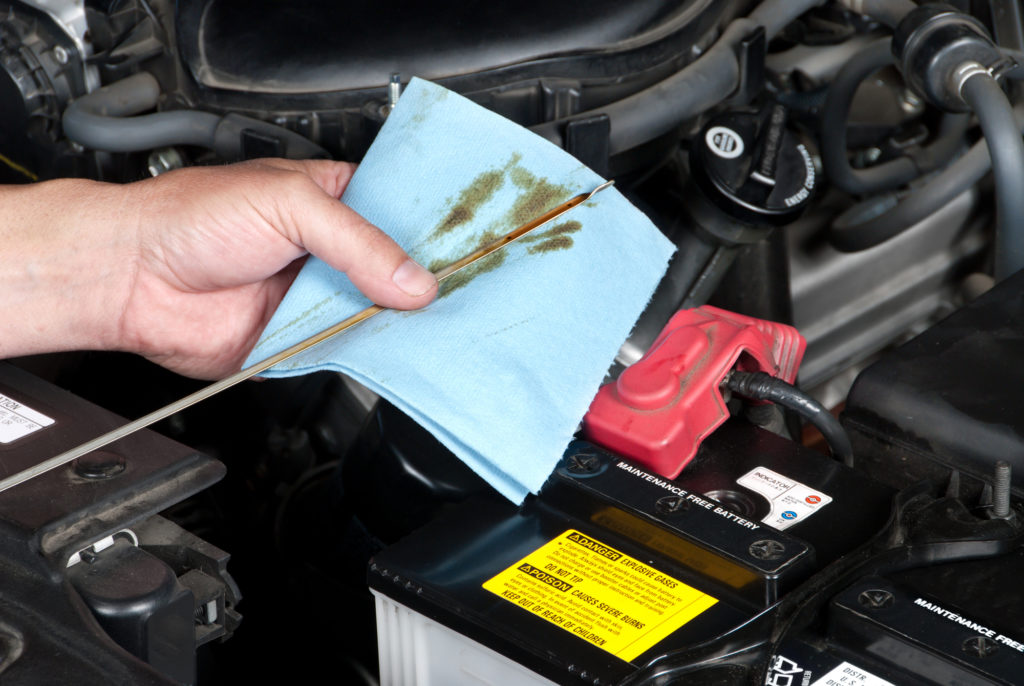
Step 3: Use a Clean, Lint-Free Cloth or Paper Towel to Wipe It Clean
Pull out the oil dipstick from the engine and wipe it clean with a lint-free cloth or paper towel. Doing this removes any oil that may have splashed around during the last time the vehicle was running.
Step 4: Reinsert the Dipstick and Then Carefully Remove It
Next, insert the dipstick back into the tube where it belongs and push it in all the way so that the oil will touch it for a proper reading. Leave the dipstick in place for a few seconds to ensure the level will be accurate.
Then, carefully pull the dipstick out of the tube. Again, use a steady hand and pull it out slowly so that oil does not splash around as you take it out of the line.
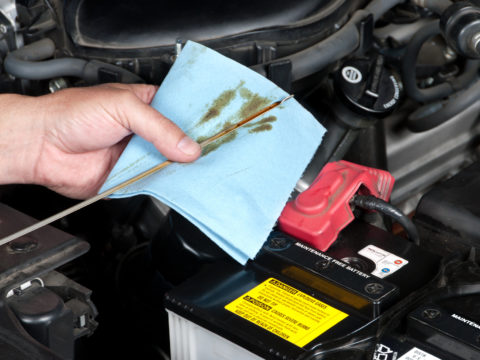
Step 5: Read the Oil Level and Check the Condition
Finally, observe how high the oil level reaches on the dipstick measurements. Be sure to check both sides of the dipstick since one side may be easier to read than the other. There should be Min and Max indicators on the dipstick to show you where the engine oil levels are sitting.
If it is close to the minimum level, you will need to add more oil to the engine.
It is also vital to check the condition of the engine oil. It should be clear and thin. There should not be any visible dirt or debris on the dipstick. If the engine oil is dark or looks dirty, it will need changing.