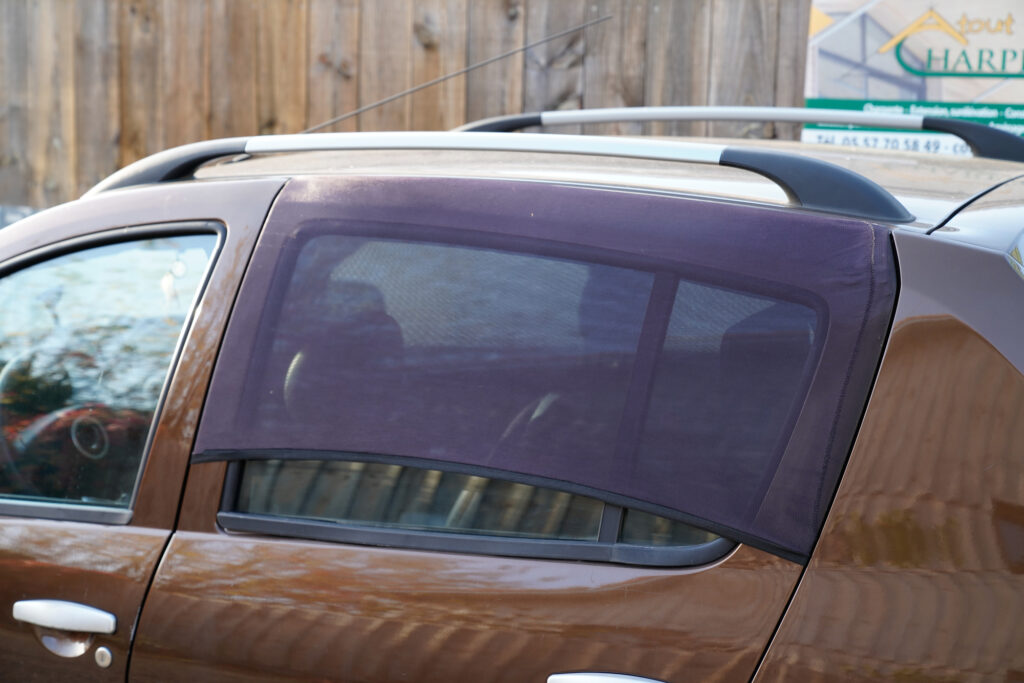
In-channel vent visors– also known as rain guards or wind deflectors– are an aftermarket accessory that you can add to the windows of a vehicle to help reduce wind noise and allow for airflow into the car, even when it’s raining.
While in-channel vent visors can provide a range of benefits for cars, they come with their fair share of potential problems that affect their performance and appearance.
Contents
How Do They Work?
In-channel vent visors create a small gap between the top of the window and the brim itself, allowing air to flow into the vehicle while deflecting rainwater away from the interior.
These visors are typically made from a thin, flexible plastic material molded to fit various window types and vehicle shapes. Depending on the brand, they come in multiple colors, patterns, and finishes, from matte black to camo.
Vent visors are straightforward to install, as each piece has a flange that you slide into the window channels, where they fit securely and snugly against the window glass. Tension from the window car door’s window frame holds them in place.
Most in-channel vent visors also include a small amount of heavy-duty, double-sided tape, but it serves as more of a safeguard rather than the primary means of adhesion.
What Are the Benefits?
In-channel vent visors are a popular aftermarket accessory for cars that offer a range of benefits, including:
- Improved Airflow: In-channel vent visors allow you to crack open your car’s windows for enhanced airflow, even in rainy or dusty conditions, without letting rain or debris enter the vehicle.
- Reduced Wind Noise: If you want to reduce wind noise, vent visors are excellent at deflecting air around the open windows, making for a quieter and more comfortable ride.
- Protection from the Sun: In-channel vent visors can help reduce direct sunlight entering the car, protecting the interior from fading and damage.
- Easy Installation: You won’t need special tools to install vent visors, making them a convenient and cost-effective way to enhance your car’s functionality and appearance.
- Enhanced Appearance: Give your vehicle a sleek, custom look by seamlessly fitting your visor into the window channels instead of using high-profile stick-on options.
Common Problems
In-channel vent visors for cars are generally reliable and long-lasting, but like any automotive accessory, they may experience problems over time.
Here are some common in-channel vent visor problems and tips for fixing them:
Difficulty Closing the Windows
If the windows are difficult to operate after installation, it may be due to interference between the visors and the window mechanism.
To fix this, you may need to adjust the position of the visors within the window tracks or clean any debris stuck in the channels with a cotton swab dipped in rubbing alcohol or compressed air.
Scratching or Damage to the Window
In-channel vent visors can sometimes create scratch marks on the windows during installation or removal, leading to additional costs for glass repairs.
You can avoid this problem by carefully following the manufacturer’s installation and removal instructions.
Wind Noise
If your in-channel vent visors are causing excessive wind noise or whistling, this may be due to air leaking through gaps between the visors and the window channels.
Adjust the visors’ placement, then add weatherstripping or sealant to fill gaps.
Water Leakage
In-channel vent visors should prevent rainwater from entering the vehicle, but not if they are damaged or not installed correctly.
Check the window channel and flange for signs of damage, replacing parts as needed.
Incompatibility with Auto-Window Roll-Up
Some in-channel vent visors may interfere with auto-window roll-up mechanisms, causing the windows to stop or reverse when rolling up.
You may need to remove the guards or adjust the window sensors or settings to fix this issue.
What Causes These Problems?
Here are some common causes of in-channel vent visor problems:
Incorrect Installation
Most issues with in-channel vent visors are user errors, as proper installation is crucial for the accessory to function correctly. If you don’t install them according to the manufacturer’s instructions, they may shift, rattle, or cause damage to the vehicle’s window channels.
For example, one of the most frequent culprits behind in-channel rain guards coming loose is because the user didn’t leave the windows up for the recommended time after installation.
This step is necessary to allow the adhesive (if used) to cure and for the vent visor to mold to the shape of the window channel.
Material Quality
In-channel vent visors made from low-quality materials may be more prone to warping, cracking, or discoloration over time. This damage can affect the performance and appearance of the guards.
Depending on your budget, you can choose from a few different materials, each with benefits and drawbacks:
- Acrylic is a popular material for in-channel rain guards because it is lightweight, durable, and resistant to UV rays and weathering. Acrylic rain guards are easy to install and are available in a range of colors to match the vehicle’s paint job.
- Polycarbonate is another popular material for in-channel rain guards because it is even more durable than acrylic and is resistant to shattering. Polycarbonate rain guards are best for off-road vehicles and other heavy-duty applications.
- ABS Plastic is a lightweight and affordable material. While not as durable as acrylic or polycarbonate, ABS plastic vent visors are still effective at deflecting rain and debris.
- Stainless Steel vent visors are the most durable option but also the most expensive. They’re a top pick for commercial vehicles that require maximum durability and protection.
Window Channel Debris
Dirt, debris, or other contaminants in the window channels can impede the movement of the windows, causing the windows to stick or become difficult to operate. It stresses the in-channel vent visors, potentially leading to cracks or breaks.
Dirty window tracks can also prevent in-channel vent visors from fitting snugly against the window glass, allowing water to enter the vehicle during bad weather and potentially causing water damage to the interior if left unchecked.
You can avoid these issues by regularly wiping down the channels with a clean cloth or using a compressed air canister to blow out debris.
Vehicle and Window Design
In-channel vent visors may not be compatible with all vehicle designs, such as those with complex window mechanisms or sensors.
When auto-window roll-up sensors detect an obstruction in the window channel, such as a rain guard or deflector, they may stop or reverse the window movement to prevent damage to the window or the mechanism.
By following the manufacturer’s instructions closely, you can avoid interference with auto-window roll-up sensors. Most have recommendations for simple fixes, like leaving a certain amount of space between the rain guards and the window sensors to avoid triggering them.
Additionally, you may need to adjust the sensitivity of the window sensors or disable the auto-roll feature if your in-channel vent visors present a persistent problem.
Environmental Factors
Environmental factors can have an impact on in-channel vent visors for cars in a few different ways:
- UV exposure can cause acrylic vent visors to fade, turn yellow, or become brittle, ultimately affecting their durability and effectiveness.
- Rain, snow, and other types of weather can deteriorate rain guards, leading to water leaks, rattling, and whistling.
- Extreme temperature changes, such as those experienced during hot summers or cold winters, can cause the in-channel vent visors to expand or contract, leading to warping or cracking.
Can You Remove the Vent Visors?
Yes, you can remove in-channel vent visors from your car if you no longer want to use them or need to replace them.
Follow these steps for the best results:
- Roll down the window of the affected in-channel vent visor.
- Locate the small tab or lip on the end of the visor closest to the car’s front.
- Using a plastic prying tool or similar non-metallic tool, gently pry the lip or tab of the visor upward and out of the window channel.
- Slide the in-channel vent visor carefully out of the window channel.
- Repeat the process for any other in-channel vent visors you need to remove.
It’s worth noting that removing in-channel vent visors that include adhesive strips may leave behind residue or marks on the window channels.
You can use a mild solvent or rubbing alcohol to remove the residue, being careful not to damage the paint or the windows.
In-Channel Vent Visors Recommendations
Not sure which in-channel vent visors to purchase for your vehicle? We have a few recommendations:
- Putco Element Tinted Window Deflectors are made of ABS plastic for incredible durability. They’re an excellent pick for windows with sensitive auto-function sensors, as they include vehicle-specific sensors that prevent interference.
- AVS In-Channel VentVisor is a budget-friendly, low-profile rain guard with a precision fit. They have a UV- and scratch-resistant acrylic construction with a dark smoke finish. AVS also includes a limited lifetime warranty against factory defects, warping, and cracking.
- EGR Slimline In-Channel Window Visors are easy to install, snapping quickly into place without any adhesives. They are sleek, practical, and compatible with many different vehicle models.